The Process of Epoxy Flooring Installation
Epoxy flooring has gained immense popularity in recent years, especially in residential and commercial settings. Its durability, aesthetic appeal, and easy maintenance make it an ideal choice for many homeowners and business owners alike. This blog post will walk you through the entire process of epoxy flooring installation, ensuring you understand each step and what to expect.
What is Epoxy Flooring?
Epoxy flooring is a type of flooring that consists of a mixture of resin and hardener, which, when applied to a surface, creates a thick, durable layer. This flooring solution is known for its high resistance to wear, chemicals, and moisture, making it suitable for various applications.
Benefits of Epoxy Flooring
- High durability and longevity
- Low maintenance requirements
- Aesthetic versatility with various colors and finishes
- Resistance to chemicals and stains
- Improved safety with slip-resistant options
- Cost-effective in the long run
The Epoxy Flooring Installation Process
The installation of epoxy flooring requires careful preparation and execution. Below, we outline the essential steps involved in the process.
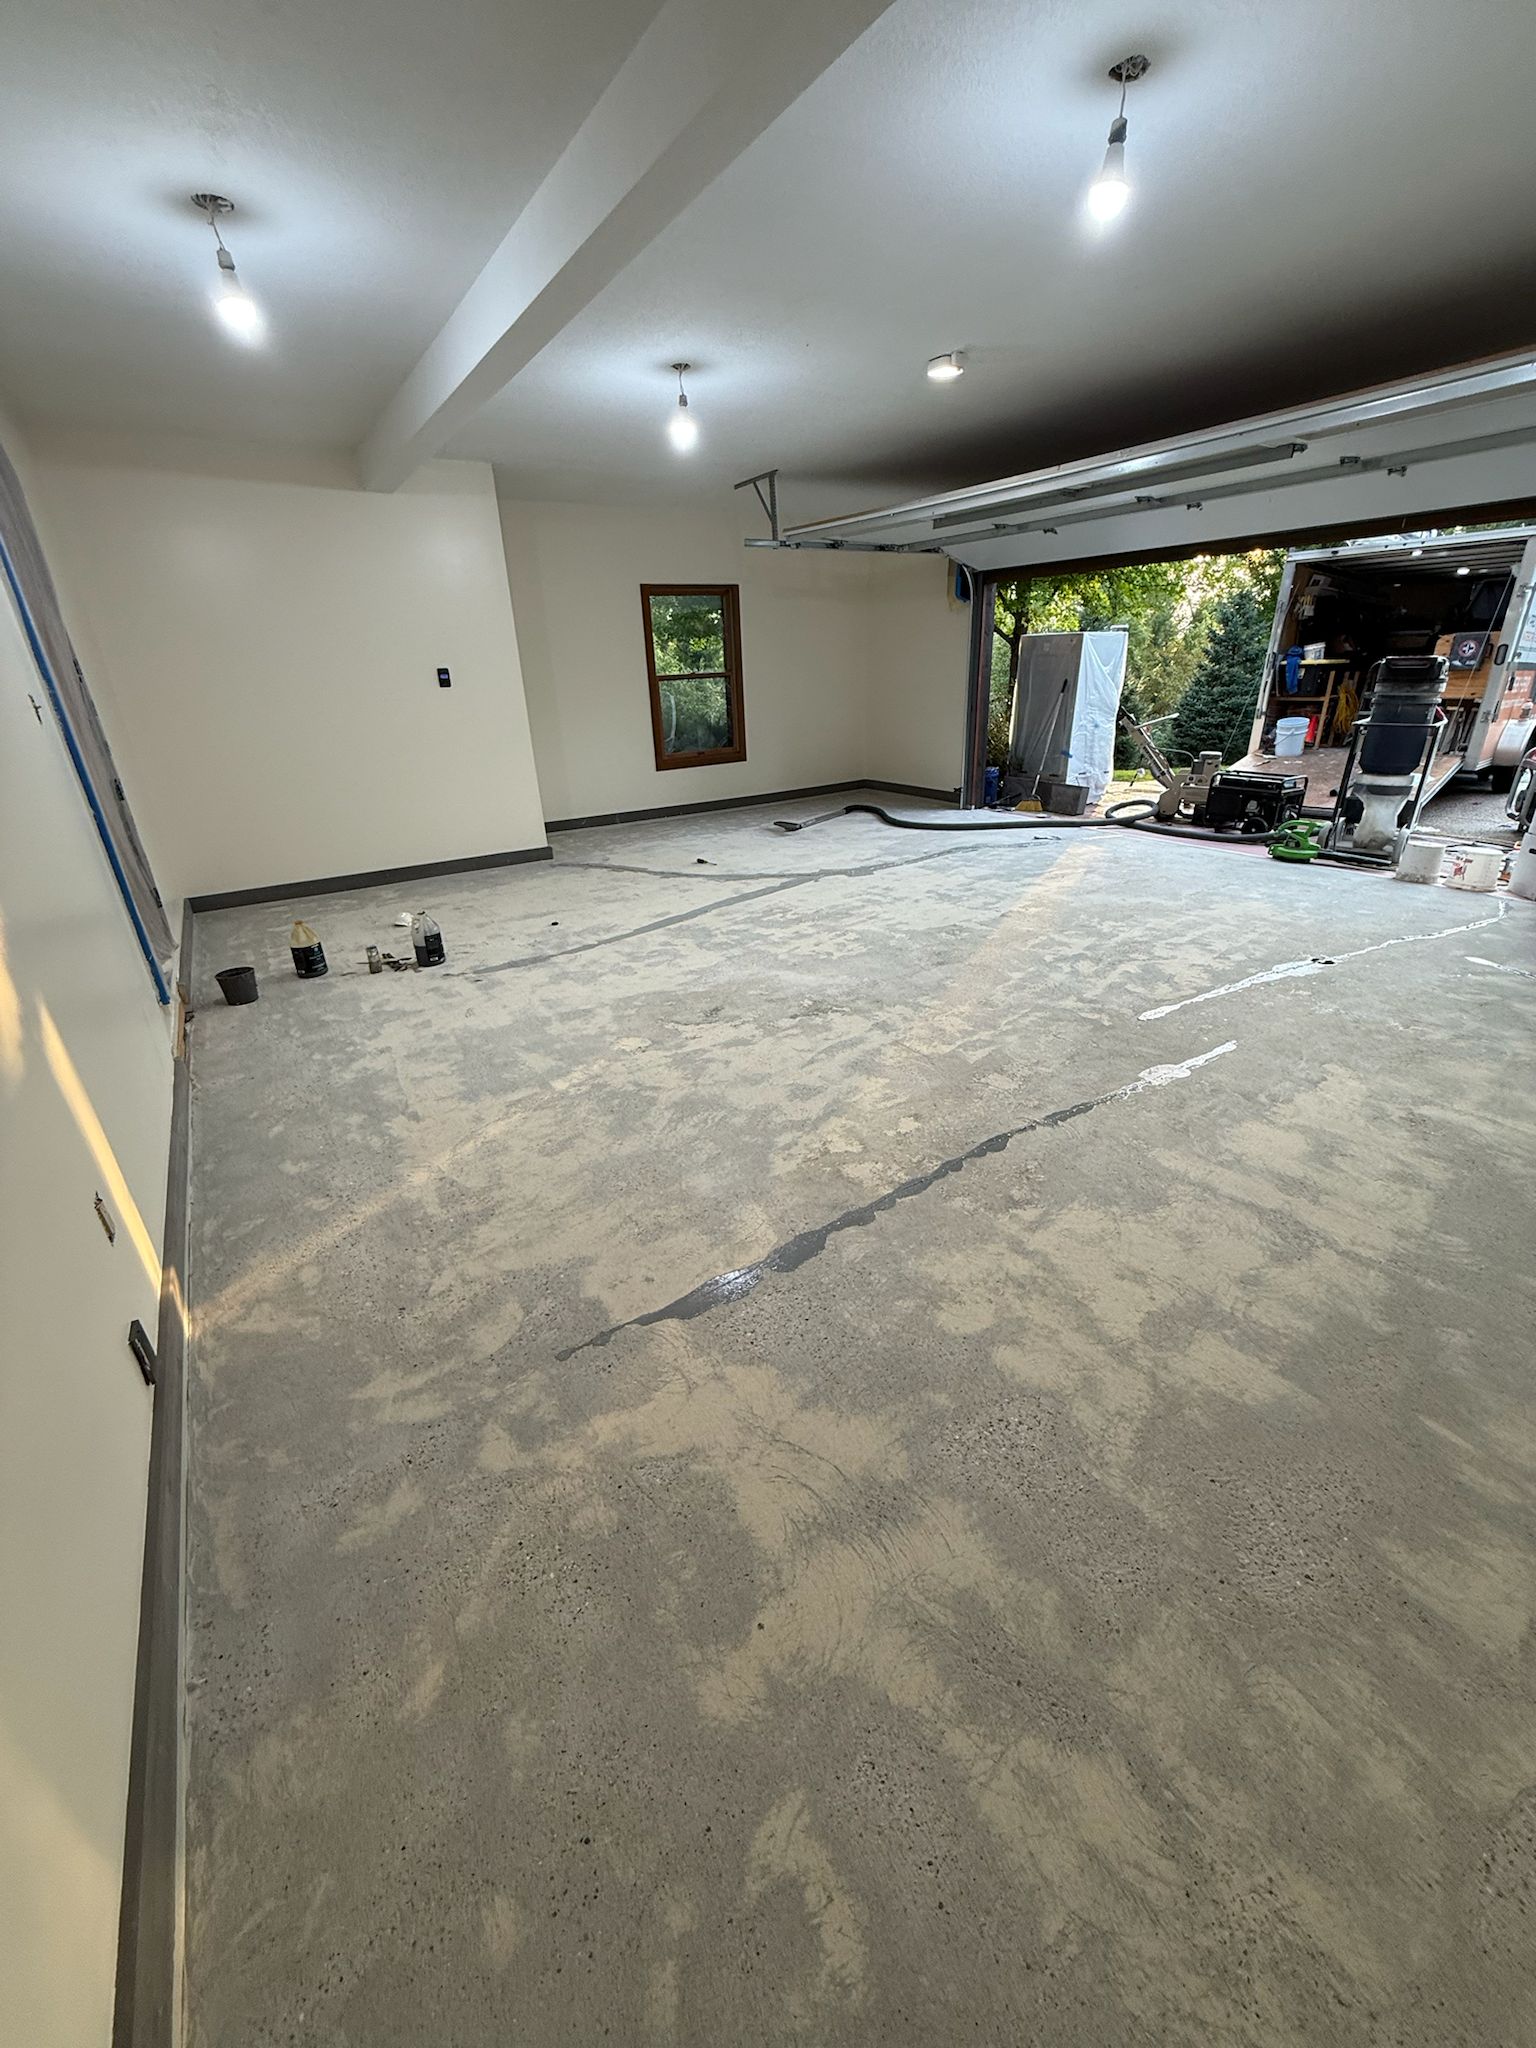
Step 1: Surface Preparation
Before applying epoxy, the surface must be thoroughly prepared. This includes:
- Cleaning the surface to remove dirt, grease, and debris
- Repairing any cracks or imperfections
- Grinding or shot blasting the surface for better adhesion
Step 2: Mixing the Epoxy
The next step is to mix the epoxy resin and hardener according to the manufacturer's instructions. Proper mixing is crucial for achieving a strong bond and optimal performance.
Step 3: Application of Epoxy
Once the epoxy is mixed, it can be applied to the prepared surface. This step typically involves:
- Using a roller or squeegee for even application
- Applying multiple coats as recommended, allowing each coat to cure
- Adding decorative elements like flakes or colors if desired
Step 4: Curing Time
After application, it's essential to allow the epoxy to cure completely. Curing times can vary based on environmental conditions and the specific product used, but generally, it takes about 24 to 72 hours before the floor can be walked on.
Step 5: Final Inspection
Once cured, a final inspection should be conducted to ensure that the flooring meets the desired quality standards. Look for any imperfections or areas that may need touch-ups.
Maintenance Tips for Epoxy Flooring
To prolong the life of your epoxy flooring, consider the following maintenance tips:
- Regularly clean with a damp mop or soft cloth
- Avoid harsh chemicals that could damage the surface
- Promptly clean up spills to prevent staining
- Use mats in high-traffic areas to minimize wear
Conclusion
Installing epoxy flooring can be a rewarding home improvement project that adds value and durability to your space. By understanding the installation process and following proper maintenance practices, you can enjoy the benefits of your new flooring for years to come. For professional assistance, consider reaching out to experts like ABM PRO Painting LLC, who can guide you through the process and ensure a flawless installation.